Posts

Showing posts from July, 2016

DIY V-neck Tiered Dress
Image
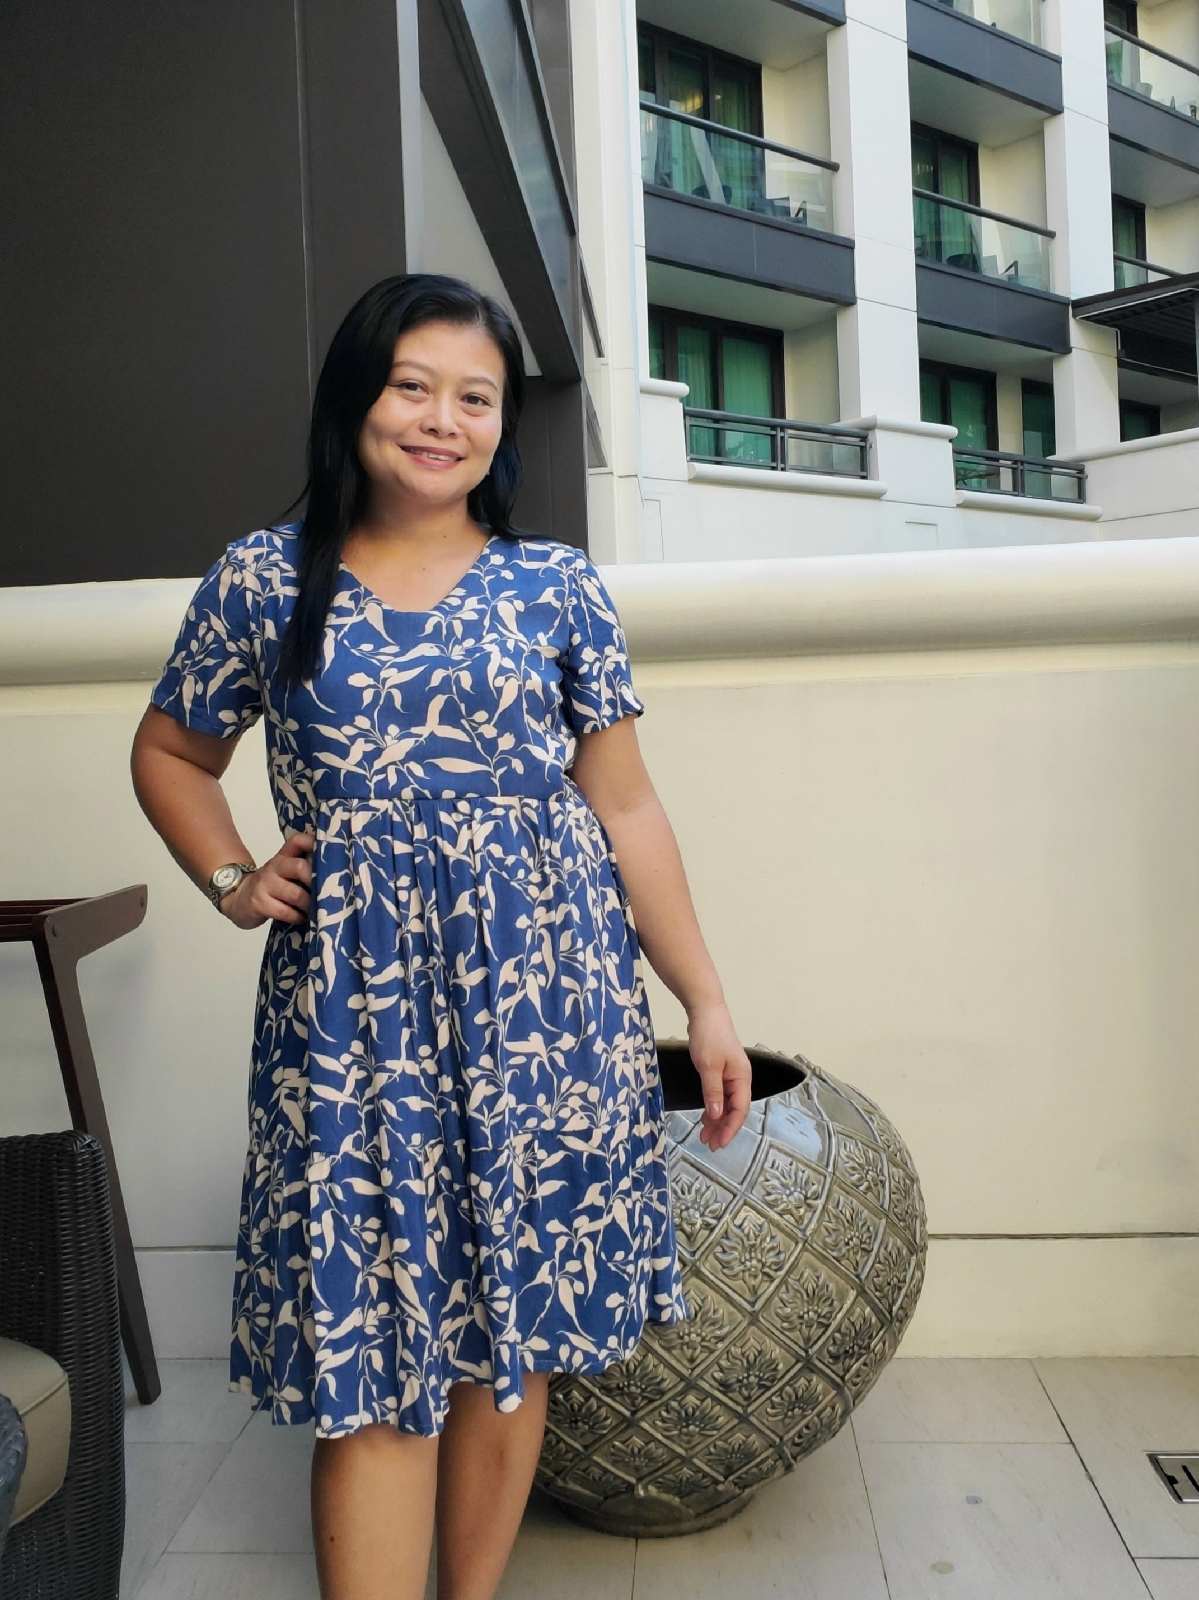
Hello, I made three dresses to wear on my trip to Bangkok during the Easter holiday and this dress is the first one I made. I will share another two in the next posts.  I started working on this dress two weeks before the trip and I'm glad I managed to finish it on time, as well as my other dresses.  This dress was fun and relaxing to sew because I made one before in a midi length, so this time I shortened the length until my knee and sewed it easily. For the fabric, I used a printed rayon from my stash and white cotton lining leftover from my previous make. For the pattern, I used my self-drafted pattern. At first, I didn't want to add the lining but I had to because the fabric was a bit transparent, the lining fabric wasn't enough and I connected the pieces to make the back skirt. Here is the look of the fabric after cutting and the skirt was pieces of a rectangle: the first tiers - front and back, the last tier on the fold ( I forgot to take the p
July Dress in Ballerina Print

Image
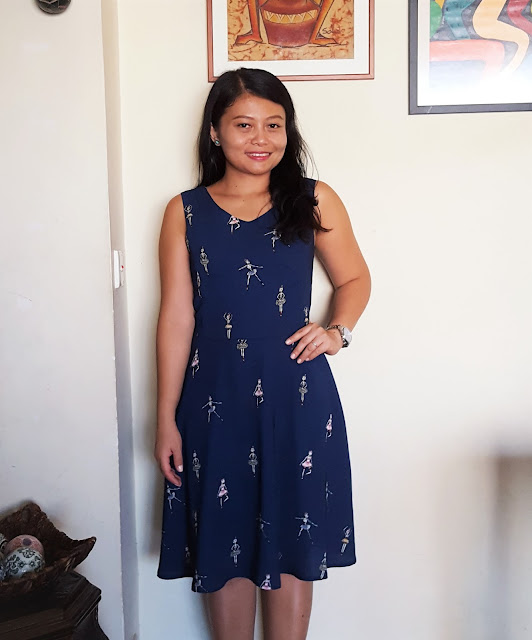
Hello, I made a new dress :) It has princess seams bodice, V-neckline, sleeveless, flared skirt and finished with invisible zipper at the back. Pattern : I modified BurdaStyle Retro Dress 09/2014  size 34. I made  my first dress based on this pattern last year, so I am not worried to trace the new pattern pieces :) Materials: 2 yards of ballerina print crepe in dark blue, fusible interfacing, invisible zipper, hook n eye fastener and same colour of thread. The process of making this dress started with modification of the pattern, I removed the button down from the original pattern and make the center front bodice and skirt on fold. Skip the pockets and then added invisible zipper at the center back. As the usual manner, I sewed the princess seams at the front and back bodices. Sewed the facings and attached to the neckline and armholes. Turned inside out and attached to the shoulder right sides together. After that I attached the skirt pieces on the bodices, sewed the sides

Joyful Sweetheart Dress

Image
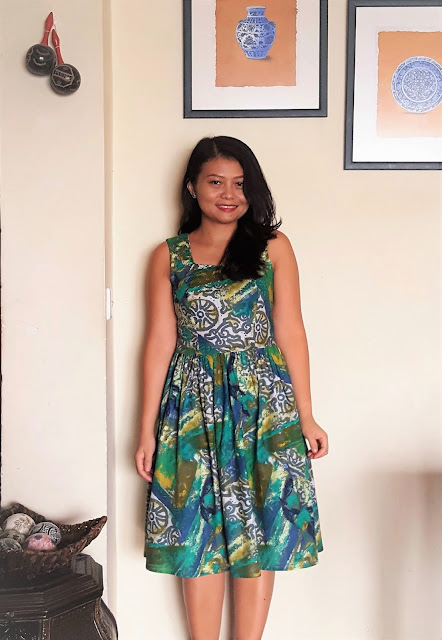
Hello friends, hope you have a happy sewing day :) As promised in my previous post, here is the finished Joyful Sweetheart dress for Magam June challenge . Fabric : 2 yards of printed cotton poplin. Pattern : BurdaStyle Vintage Modern Elizabeth Gathered-Waist dress  size 34 modified to a sweetheart dress. I did the wearable muslin  but I modified the bodice again to princess seamed. Also, the dress has facing, gathered skirt, side zipper and finished with narrow hem. The process was a little bit tricky because I have to copy the bodice from my wearable muslin, remove the darts and make princess seam bodice for both front and back - as shown in the pictures below. After I had all the pieces, I sewed the bodice and carefully clip the seam allowances and sew the raw edges using the zig zag stitch. Then sewed the shoulder right sides together. After that, I prepared the skirt by gather them all and attached it to the bodices. Followed by sewing the right side of the d

Basic Crochet Top

Image
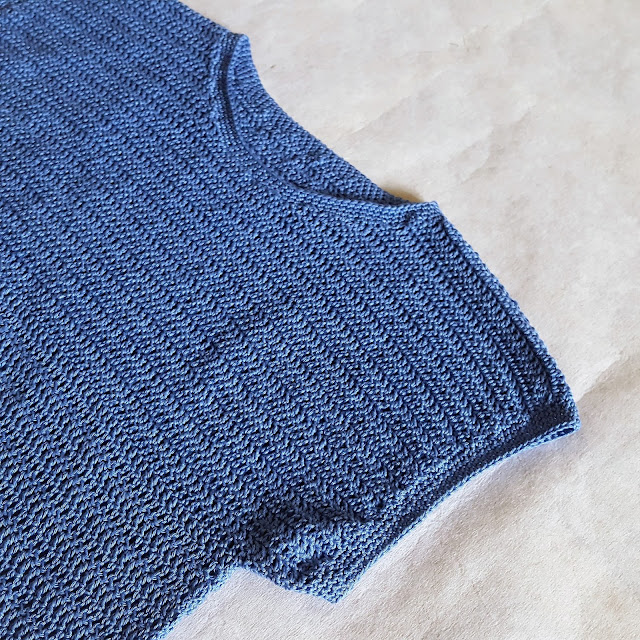
Hello, I have been very enthusiastic with crochet and knitting lately and so happy to finish my first ever crochet top after almost two months :) The pattern is made by me, I usually use size M. No special rule to crochet this top, I just double crochet and measured the length in rectangle shape. Finished the neckline and armholes with single crochet. Very easy, isn't it? For the yarn, I used 7 skeins cotton yarn : 875 m. And for the needle, I used 3.5 mm crochet hook. The finished top is just so comfy and roomy in the sleeves. I was planning to wear it this summer but can not, it is too heavy to wear in hot humid weather. But it is okay, I will wear it during colder month, on top of long t-shirt :) The process started with back piece, I worked from the middle bodice - 90 chain stitches followed with double crochet stitches until measured 23 cm. Then continue worked in the back neckline by marked both shoulders 16 cm, and shaped the neckline until measured 3 cm. After that